Product demo hand shot sequence: Guide to product reveal
"The way a hand interacts with an object defines the viewer's perception of usability and physical reality."
Designing a product demo hand shot sequence requires careful timing to ensure the human element enhances rather than distracts from the item being shown. A successful sequence balances the object's reveal with the hand's intuitive movement, establishing both scale and function.
This guide covers how to film product hand demo shots, the best sequence for product reveal, cinematography for product interaction, and natural product hand scene setups.
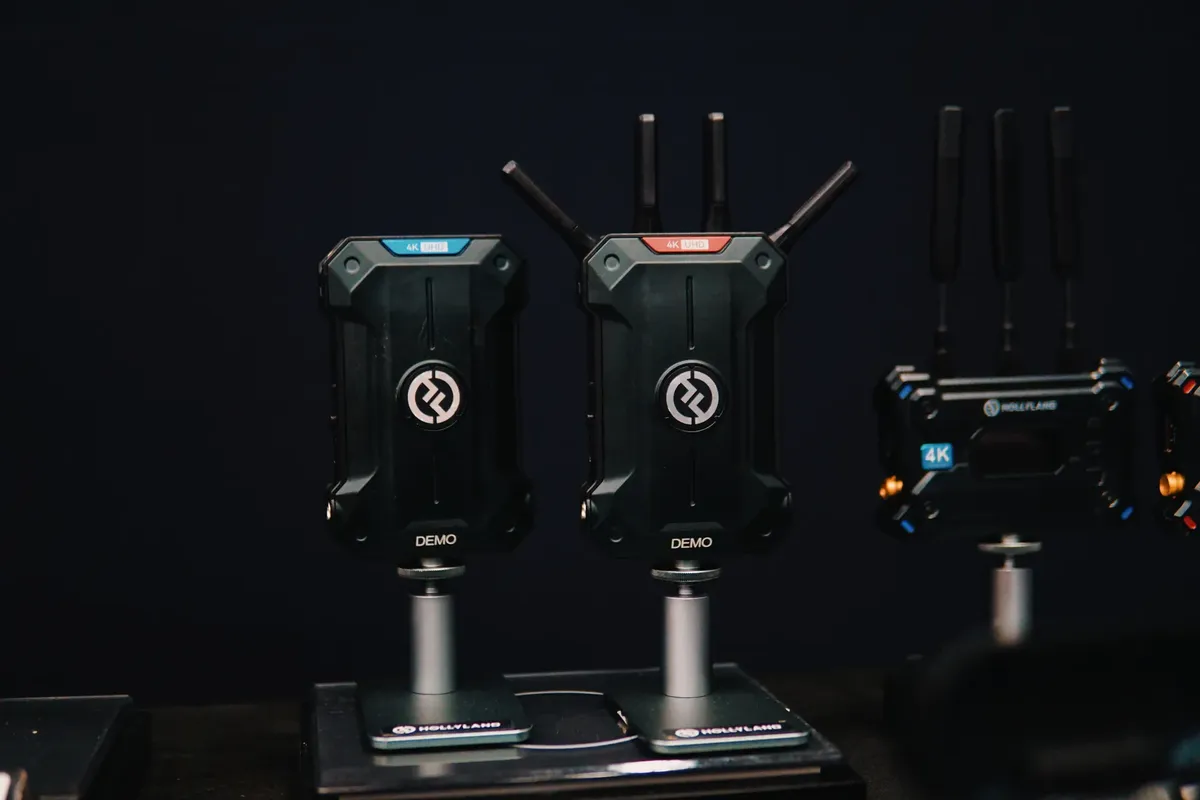
We will look at how to manage the interplay between human motion and static objects, the importance of grip and placement, and the timing of cuts.
How to manage a product demo hand shot sequence?
A person reaches for a sleek metallic device on a wooden table, their fingers hovering just before contact. To create a seamless product demo hand shot sequence, the videographer must establish the relationship between the user and the tool through intentional movement.
The hand should first frame the object, providing context for its size and texture before the primary action begins.
Effective sequences often move from a wide shot of the environment to a tight shot of the interaction. This transition allows the viewer to understand the setting before focusing on the tactile details of the product.
If the hand enters the frame too quickly, it can obscure the product's design, making the transition feel jarring.
A well-planned demo ensures the hand acts as a guide for the viewer's eye. By moving toward the product with purpose, the hand directs attention to specific features. This method prevents the visual clutter that often occurs when hands and products compete for dominance in a single frame.
What is the best sequence for product reveal?
A bright light hits a polished surface as a hand gently lifts a lid to reveal the contents inside. Finding the best sequence for product reveal involves a careful dance between hiding and showing.
The goal is to build anticipation by showing the hand's preparation before the product is fully visible.
The sequence typically begins with a "setup" shot where the product is stationary and the hand enters the frame. This is followed by the "interaction" shot, where the hand performs the primary function, such as pressing a button or opening a latch.
Finally, a "result" shot shows the product in its active state, often with the hand partially exiting to clear the view.
| Sequence Phase | Hand Action | Visual Focus |
|---|---|---|
| Setup | Reaching/Grasping | Product Scale |
| Interaction | Manipulation | Functional Detail |
I remember adjusting the lighting on a small prototype to ensure that when the hand moved, the shadows didn't swallow the product's edges. This taught me that the hand's shadow is just as much a part of the sequence as the hand itself.
How to master cinematography for product interaction?

The camera lens zooms in as a hand carefully rotates a small gadget to catch the light. Mastering cinematography for product interaction requires managing the depth of field to keep both the hand and the object in sharp focus.
If the hand is too close to the lens, it may appear unnaturally large, breaking the sense of scale.
Lighting plays a critical role in how the hand and product appear together. Using soft, diffused light can prevent harsh shadows from the hand from masking the product's details.
When the hand interacts with the object, the movement should be steady to avoid motion blur that could make the product look low-quality.
The interaction should feel organic rather than mechanical. If a hand moves too quickly, the viewer loses the ability to appreciate the product's tactile qualities. Slow, deliberate movements allow the viewer to process the relationship between the human touch and the material of the product.
How to create a natural product hand scene?
A hand rests naturally beside a product, fingers lightly touching the surface to show texture. To achieve a natural product hand scene, the grip should look functional rather than forced.
An awkward or overly tight grip can make the product look fragile or difficult to use, which undermines the demo's purpose.
The placement of the hand should always serve the product's design. For example, if a product has a specific ergonomic handle, the hand should be shown using that handle exactly as intended. This validates the product's design through visual proof.
Avoid "claw-like" grips that cover too much of the product's surface area. Instead, use fingertips or light grips to keep the product's silhouette visible. A natural scene suggests that the product is an extension of the user's hand, making the technology feel accessible and intuitive.
How to apply these techniques to existing footage?
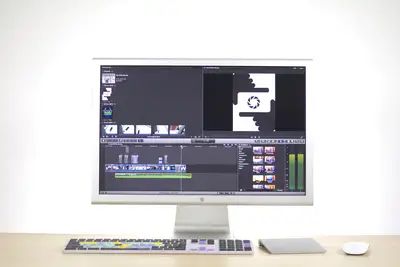
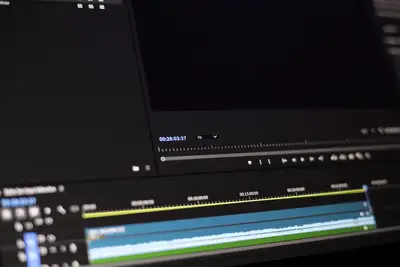
A video editor drags a clip of a hand reaching into a timeline, aligning it with a static shot of the product. Applying these techniques to existing footage involves matching the motion of the hand in one shot to the positioning of the product in the next.
This ensures that the "jump" between cuts feels like a continuous movement.
- Match the hand's direction of travel across different shots to maintain visual flow. 2. Ensure the lighting consistency remains the same between the hand-only shots and the product-only shots. 3. Align the timing of the hand's contact with the product to the beat of the background audio.
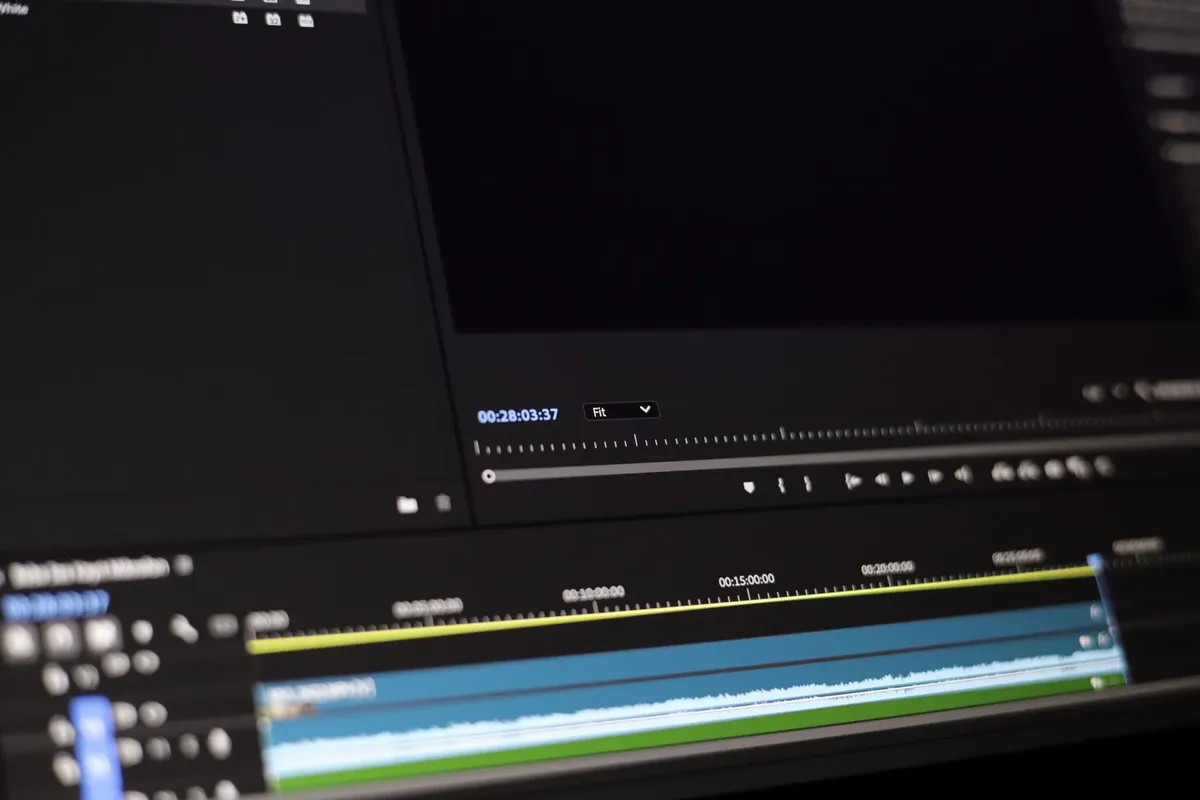
Check the final edit to ensure the hand doesn't block the most important visual elements of the product during the transition.
A limitation of these techniques is that they may not work effectively if the product is too small to be handled safely or if the lighting environment is highly unpredictable.
- How to manage a product demo hand shot sequence?
- What is the best sequence for product reveal?
- How to master cinematography for product interaction?
The same subject is also called Hand and product video shots.
The same subject is also called Demo footage cut order.
The same subject is also called Product use hand angles.
Related




Comments 0