Consistent framing for before after: Tips for matching shots
"The visual transition between two states must feel seamless to convey true change."
Maintaining a consistent framing for before after videos requires precise control over camera positioning and prompt engineering.
You can achieve professional results by locking your physical tripod settings and utilizing specific technical parameters to ensure the subject remains in the exact same spot.
Key takeaways: 1. Use physical markers to lock camera height and angle. * Refine prompts to include specific spatial coordinates. * Synchronize lighting and background elements for a seamless transition.
How to maintain framing in edits?
At dawn, I tighten the tripod locks to ensure the camera height remains consistent against the cold studio floor.
A camera sits on a tripod, its legs locked firmly into the floor, while a marker tape sits on the ground to indicate the exact distance from the subject. To begin a project, you must ensure that the physical environment remains unchanged between the two recording sessions.
Establishing a stable environment is the first step in managing consistent framing for before after videos. You should use a tripod to prevent any shifts in height or tilt, and mark the floor to ensure the camera's footprint is identical every time.
If the camera moves even slightly, the comparison will lose its impact.
One common mistake is changing the lens focal length between shots. If you switch from a wide-angle to a portrait lens, the perspective shift will ruin the visual continuity. Keep the same lens and aperture settings to ensure the depth of field and subject scale remain identical across both clips.
How can I keep my visuals consistent? Consistent framing for before after
A hand adjusts the brightness on a monitor, checking that the shadows fall in the same direction as they did in the previous shot. Consistency is not just about the camera position; it is about the light and the subject's placement.

Achieving professional results requires matching the lighting environment. If you use natural light, the time of day must be similar for both the "before" and "after" shots to avoid drastic shifts in color temperature.
If you use artificial lights, use a light meter to ensure the intensity remains constant.
When working with digital tools, you can use overlays to match shots for comparison video projects. By overlaying the first shot as a transparent guide, you can align the subject in the second shot perfectly. This prevents the "jumping" effect that often plagues poorly edited comparison videos.
How do I achieve stable composition?
A technician carefully places a subject on a pedestal, checking the edges of the frame against a digital grid. The goal is to make sure the subject occupies the exact same percentage of the frame in both versions.
To maintain a stable composition before after shots, you must define the subject's boundaries. Use a grid overlay on your viewfinder to align the subject's eyes or the center of the object with specific intersections. This ensures that the scale of the subject does not change between shots.
You should also consider the background elements. If the background is busy, it can distract from the change you are trying to show. A clean, consistent background helps the viewer focus on the transformation rather than the environment.
Consistent prompt video guide?
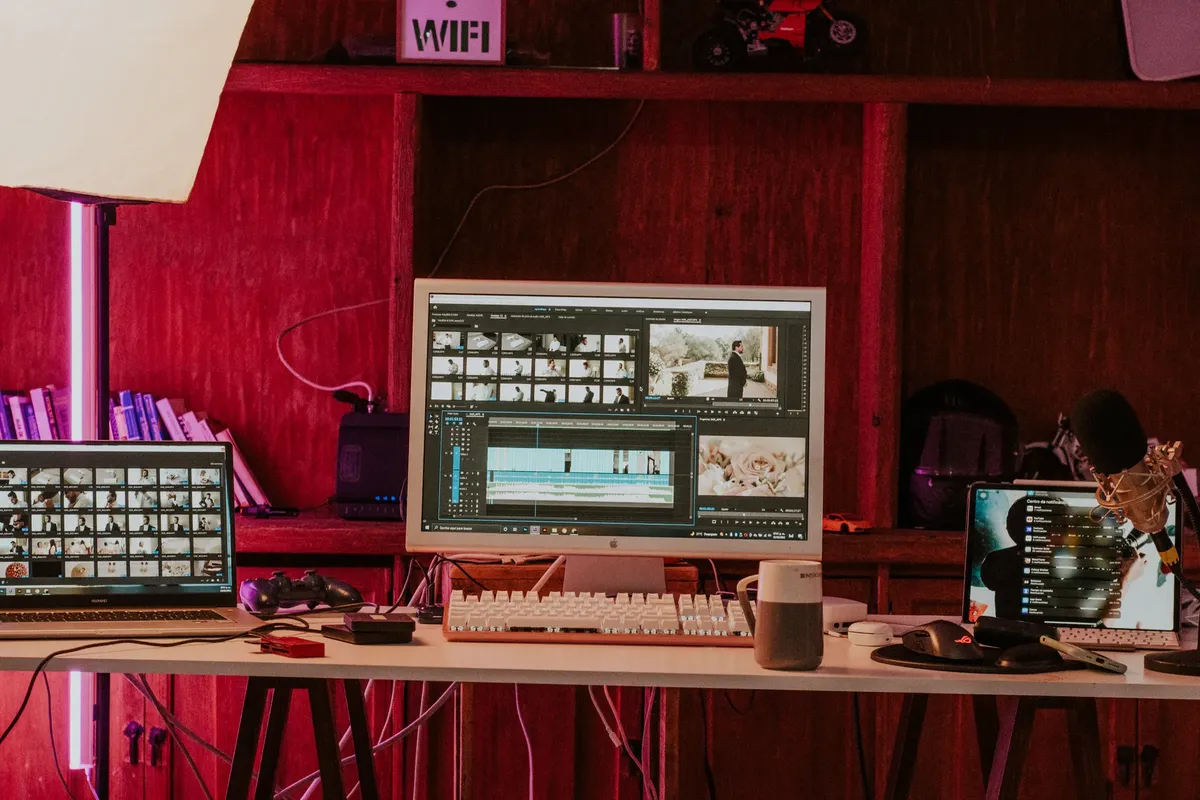
A designer types a series of descriptive words into a software interface, carefully selecting terms that define the scene's geometry. When using AI-driven tools, the prompt becomes the primary way to control the visual output.
Using a consistent prompt video guide is essential when generating digital content. You should include specific keywords regarding the camera angle, such as "eye-level" or "medium shot," in every prompt. This prevents the AI from generating different perspectives for the same subject.
To keep the subject identical, include details about the subject's pose or orientation in the prompt. For example, if the subject is facing slightly to the left, repeat that specific detail in the next prompt. This reduces the randomness of the generation and keeps the visual narrative intact.
How to maintain framing in edits?
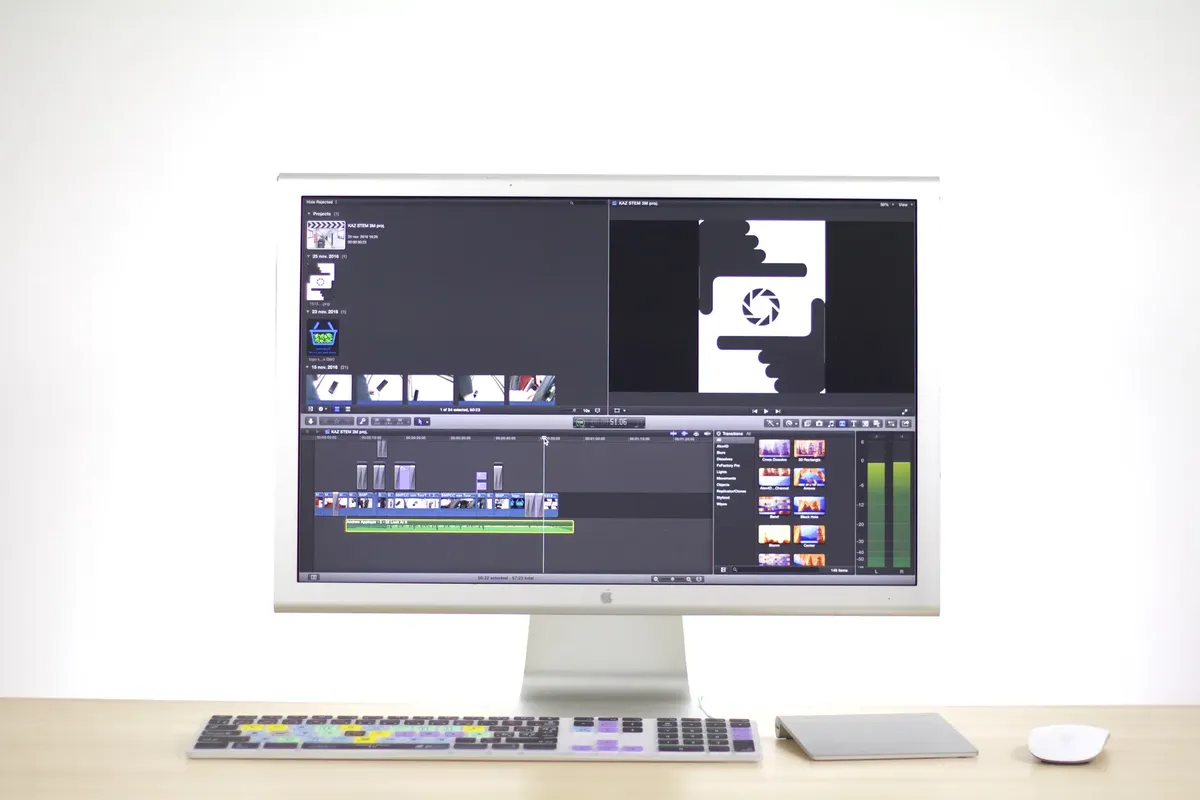
A person sits at a desk, dragging two video clips side-by-side on a timeline to check the alignment. The transition between the two states is the most critical part of the editing process.
If you are working with digital generators, you can use seed numbers or specific reference images to maintain consistency. By using the same seed, you provide a mathematical starting point that helps keep the visual style and composition stable.
| Method | Physical Setup | Digital Tool |
|---|---|---|
| Alignment | Tripod and Floor Markers | Grid Overlay and Seed Numbers |

I found that using a physical checklist for every shot helped me avoid mistakes during the second take.
The limitation of this method is that it assumes the environment remains static; if the lighting or background changes naturally between shots, manual adjustments will be required.
- How to maintain framing in edits?
- How can I keep my visuals consistent?
- How do I achieve stable composition?
The same subject is also called Keep same angle video editing.
This part also covers Techniques for visual consistency.
This part also covers Best practices for comparison shots.
Related






Comments 0