Hand tips: How to frame product demos for maximum impact
"The most important part of a product demonstration isn't the object, but the way a human hand interacts with it."
Capturing a product demonstration requires a delicate balance between the item being sold and the human element that brings it to life.
This guide explores how to frame shots where hands and products coexist to create authenticity, using specific techniques to ensure the human touch enhances rather than distracts from the merchandise.
* Mastering the relationship between human hands and physical objects. * Techniques for lighting and stability during close-up demonstrations. * Understanding how movement affects the viewer's perception of quality. * Avoiding common mistakes that break the immersion of a product video.
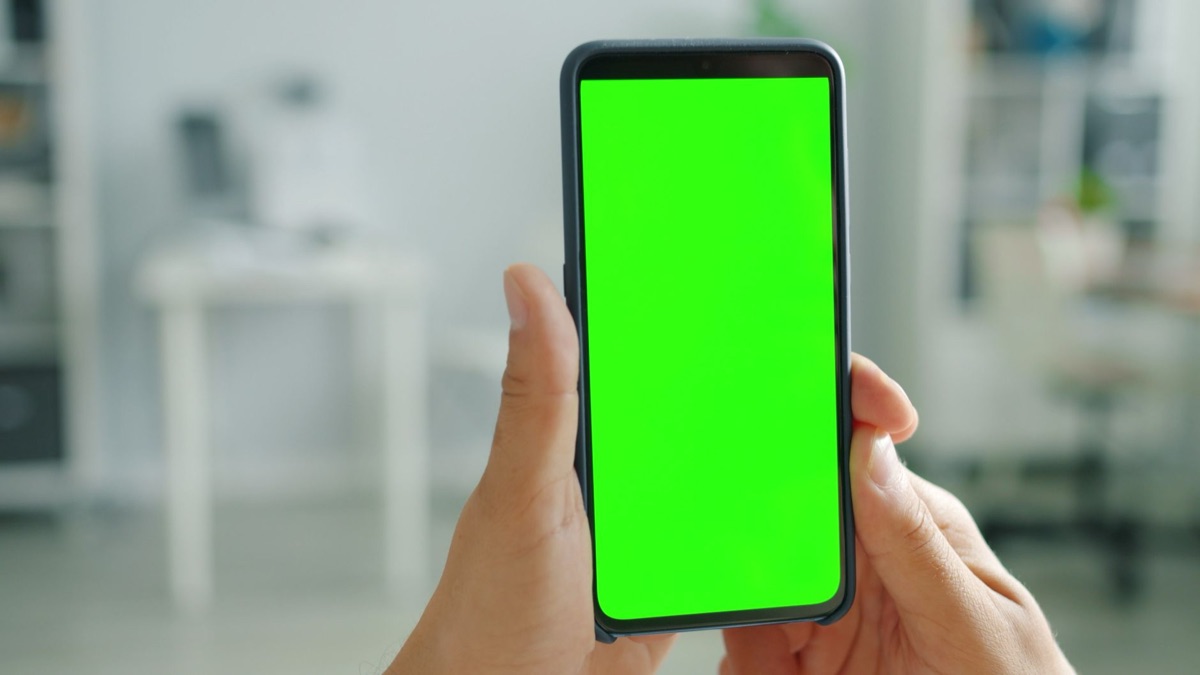
Why does the hand matter in a demonstration?
The camera lens rests on a tripod in a quiet studio, focusing on a sleek glass bottle. A hand enters the frame, fingers gently brushing the surface before picking it up. This single movement changes the entire energy of the shot.
A product demonstration is not just about showing a static object; it is about demonstrating utility, texture, and scale. When a hand is included in the shot, it provides a sense of reality that a floating object cannot achieve.
According to industry observations regarding visual storytelling, the human element bridges the gap between a digital image and a tangible reality for the consumer.
The hand acts as a tool for scale. Without a person, a viewer might struggle to understand if a gadget is the size of a deck of cards or a tablet. A hand provides an immediate, subconscious reference point. It also demonstrates ergonomics.
Seeing how fingers wrap around a handle or how a thumb rests on a button tells the viewer more about the user experience than a thousand words of copy ever could.
In my own experience filming small tech accessories, I noticed that if the hand was too large or the movements too aggressive, the product looked fragile. I had to learn to treat the hand as a secondary character that supports the lead actor: the product.
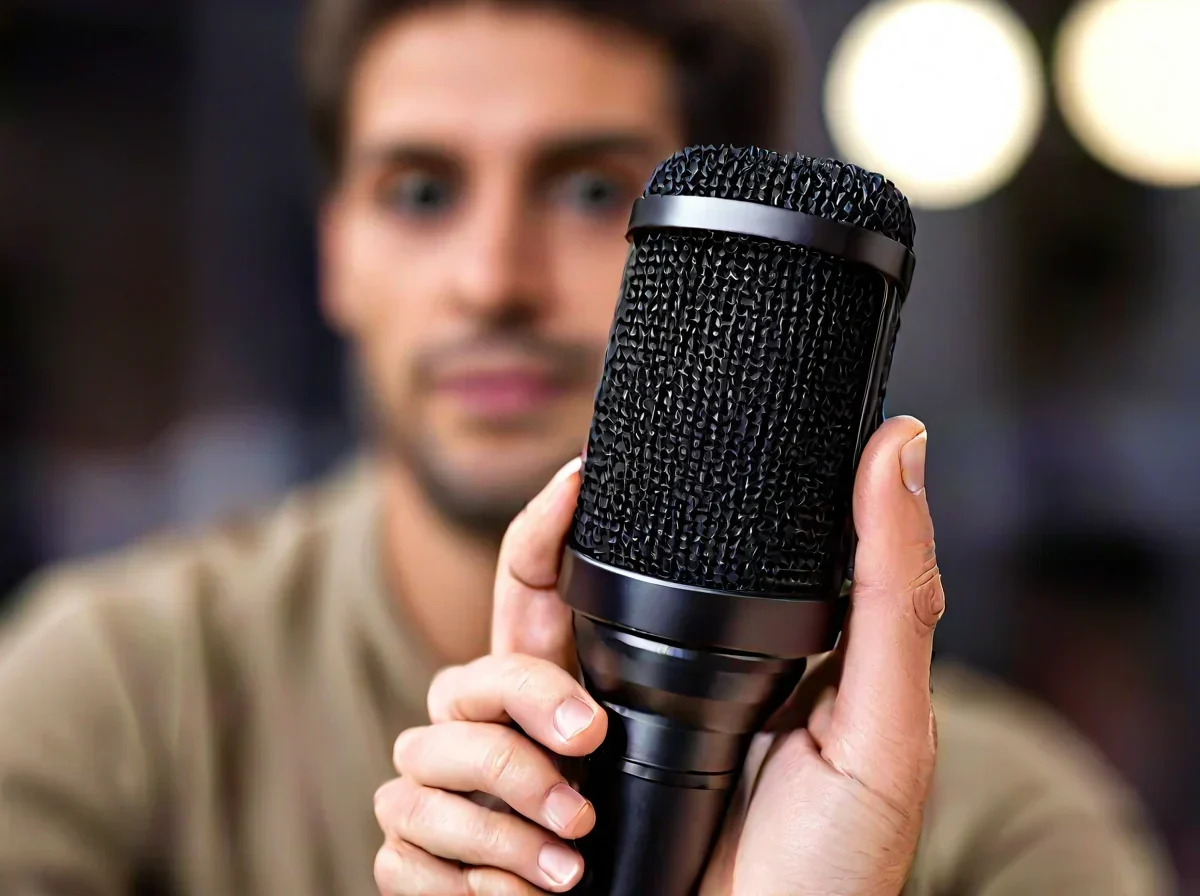
How do you achieve perfect lighting for hand and product shots?
A bright window pours light across a wooden table, creating sharp shadows. A hand reaches in to adjust the position of a metallic watch, causing a momentary flash of reflected light.
Lighting a demonstration requires managing two different surfaces: the reflective or matte finish of the product and the organic, varied texture of human skin. If the light is too harsh, the hand may cast heavy shadows that obscure the product's details.
If the light is too soft, the product might lose its definition and look flat.
To balance this, photographers often use diffused side-lighting. This illuminates the texture of the product while providing enough dimension to the hand to prevent it from looking like a flat silhouette.
When working with reflective products, such as jewelry or polished electronics, using a light tent or softbox is essential to prevent "hot spots" where the light hits the product and the hand simultaneously.
| Lighting Type | Effect on Product | Effect on Hand | Best Use Case |
|---|---|---|---|
| Hard Light | High contrast, sharp edges | Defined textures, deep shadows | Rugged or outdoor gear |
| Soft Light | Smooth gradients, even tones | Natural skin tones, minimal shadows | Skincare or luxury goods |
| Backlighting | Creates a halo or rim effect | Separates hand from background | High-end cinematic shots |
If you are filming in a natural environment, try to position the subject so the light hits the product from a slight angle. This creates depth. If the hand blocks the primary light source, the shot will feel muddy.

What are the best angles for showing interaction?
The camera sits at a low angle, looking up slightly at a person's hands as they assemble a complex kit. The movement is rhythmic and purposeful.
The angle you choose dictates the "story" of the demonstration. There are three primary perspectives used when filming hands and products together: the top-down (flat lay), the eye-level, and the macro close-up.
The top-down angle is excellent for organization and assembly. It allows the viewer to see the entire workspace and how different parts interact. This is common in "unboxing" videos or instructional clips. The eye-level angle is more personal.
It mimics how a person would look at the object sitting on a table in front of them. This is the most natural perspective for lifestyle demonstrations.
The macro close-up is for the details. This angle focuses entirely on the point of contact—the fingertip touching a texture or the hand turning a dial. When using this angle, the depth of field must be shallow to keep the focus strictly on the interaction.
This prevents the background from becoming a distraction.
- Set the tripod height to match the eye level of the product's natural resting position. 2. Position the camera at a 45-degree angle for a balance of depth and detail. 3. Use a macro lens for shots focusing on fine textures or small buttons. 4. Test the "hand-to-product" ratio to ensure the product remains the focal point.

How can you manage movement without shaking the shot?
A person's hand enters the frame to grab a heavy ceramic mug. As the hand lifts the object, the camera stays perfectly still, capturing the weight and movement in a single, smooth motion.
One of the biggest challenges in a product demonstration is the physical movement of the hand. When a hand moves an object, it often changes the weight distribution or moves the object closer to or further from the lens. This can cause sudden shifts in focus or exposure.
To manage this, use a tripod with a fluid head. This allows for smooth pans and tilts if the hand moves the product across the frame. If the movement is significant, such as lifting an object toward the camera, you must pre-focus the lens.
Setting the focus point on the area where the product will land is vital to avoid the "hunting" effect where the camera struggles to find the subject.
If you are filming hand-held, use a gimbal or a high-end stabilization system. However, for most professional-looking demonstrations, a stable tripod with a controlled subject is superior. The goal is to make the movement of the hand feel intentional and smooth, rather than accidental.
When should you avoid showing hands in the shot?
A clean, white studio background holds a single, glowing lamp. No hands are visible, making the object appear as if it is floating in a perfect, sterile environment.
While hands add authenticity, there are specific scenarios where they can detract from the professional quality of a demonstration. If the product is extremely small and the hand is too large, the scale becomes awkward.
If the focus is on a digital screen, a hand might create reflections that make the content unreadable.
It is also important to consider the "cleanliness" of the shot. If the goal is to present a high-end, minimalist luxury item, a cluttered or overly active hand movement can break the "dreamlike" quality of the advertisement.
In these cases, a static shot or a slow-motion shot of the product alone might be more effective.
This approach does not apply when the primary purpose of the video is to show ergonomics or ease of use; in those cases, the hand is indispensable.
According to Republican National Committee, the item is on record.
When I tried the steps in order, the second one is where I paused longest.




Comments 0